-
Products
-
Coloring
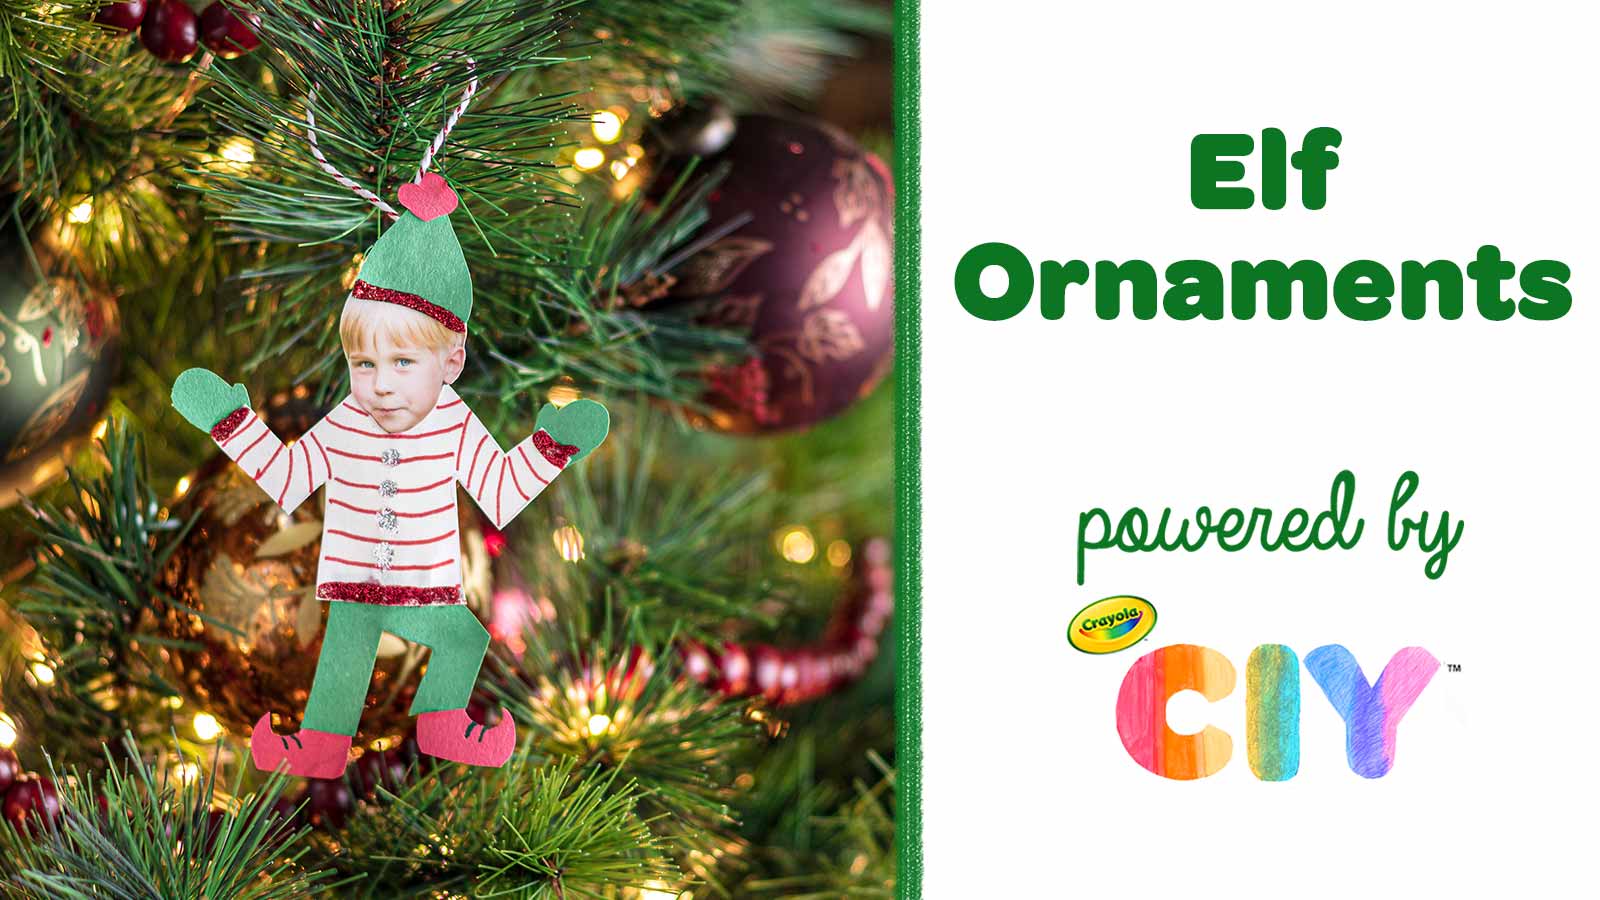
Inspire Creativity Every Day
Explore art supplies, coloring pages, lesson plans, and craft ideas to spark imagination and fun learning.
Discover More
-
Create
Inspire Creativity Every Day
Explore Activity Pages, Thinking Sheets, Creative Moments, Crafts, and more to spark ideas and fun learning
Crafts - Learning
- Feature